
What badge stock should my event use?
Badges come in all shapes and sizes, but which one should you use for your event.
How to decide what badge stock to use?
There are a couple of deciding factors when choosing badge stock, design requirements and cost.
The cheapest solution is sticky labels. These labels are less than $100 for 4,000 units. They come in all shapes and sizes, are widely available across the world. A 4x2 inch label will generally fit the attendee details along with a QR code for lead capture.
The next step up is a combination of pre-printed A6 card with the sticky labels mentioned above. The pre-printed cards often work out around 50c per piece, can be color printed on both sides and offer opportunity to have more information on the attendee badge without complicating the on-site printing process. Design your badge with a slightly bigger than 4x2 inch whitespace and then apply the attendee sticky label to the card after printing. The slightly bigger space will avoid you needing to be too precise with sticking the label at registration. We find this is the sweetspot for most of our events.
If you are happy to spend more, in and around the $4-$6 per badge, you can have full color pre-printed thermal badge stock. These generally come in the fanfold format and can be fed into the back of the printer. The printer can then thermal print directly onto the badge. Again the design here is important, leave enough whitespace to print your attendee details. Is it also best to run your design past the team here at Badgy.app to ensure that the design will cater for all your needs.
You can learn more about badges in our docs: https://docs.badgy.app/badges
Direct thermal printers
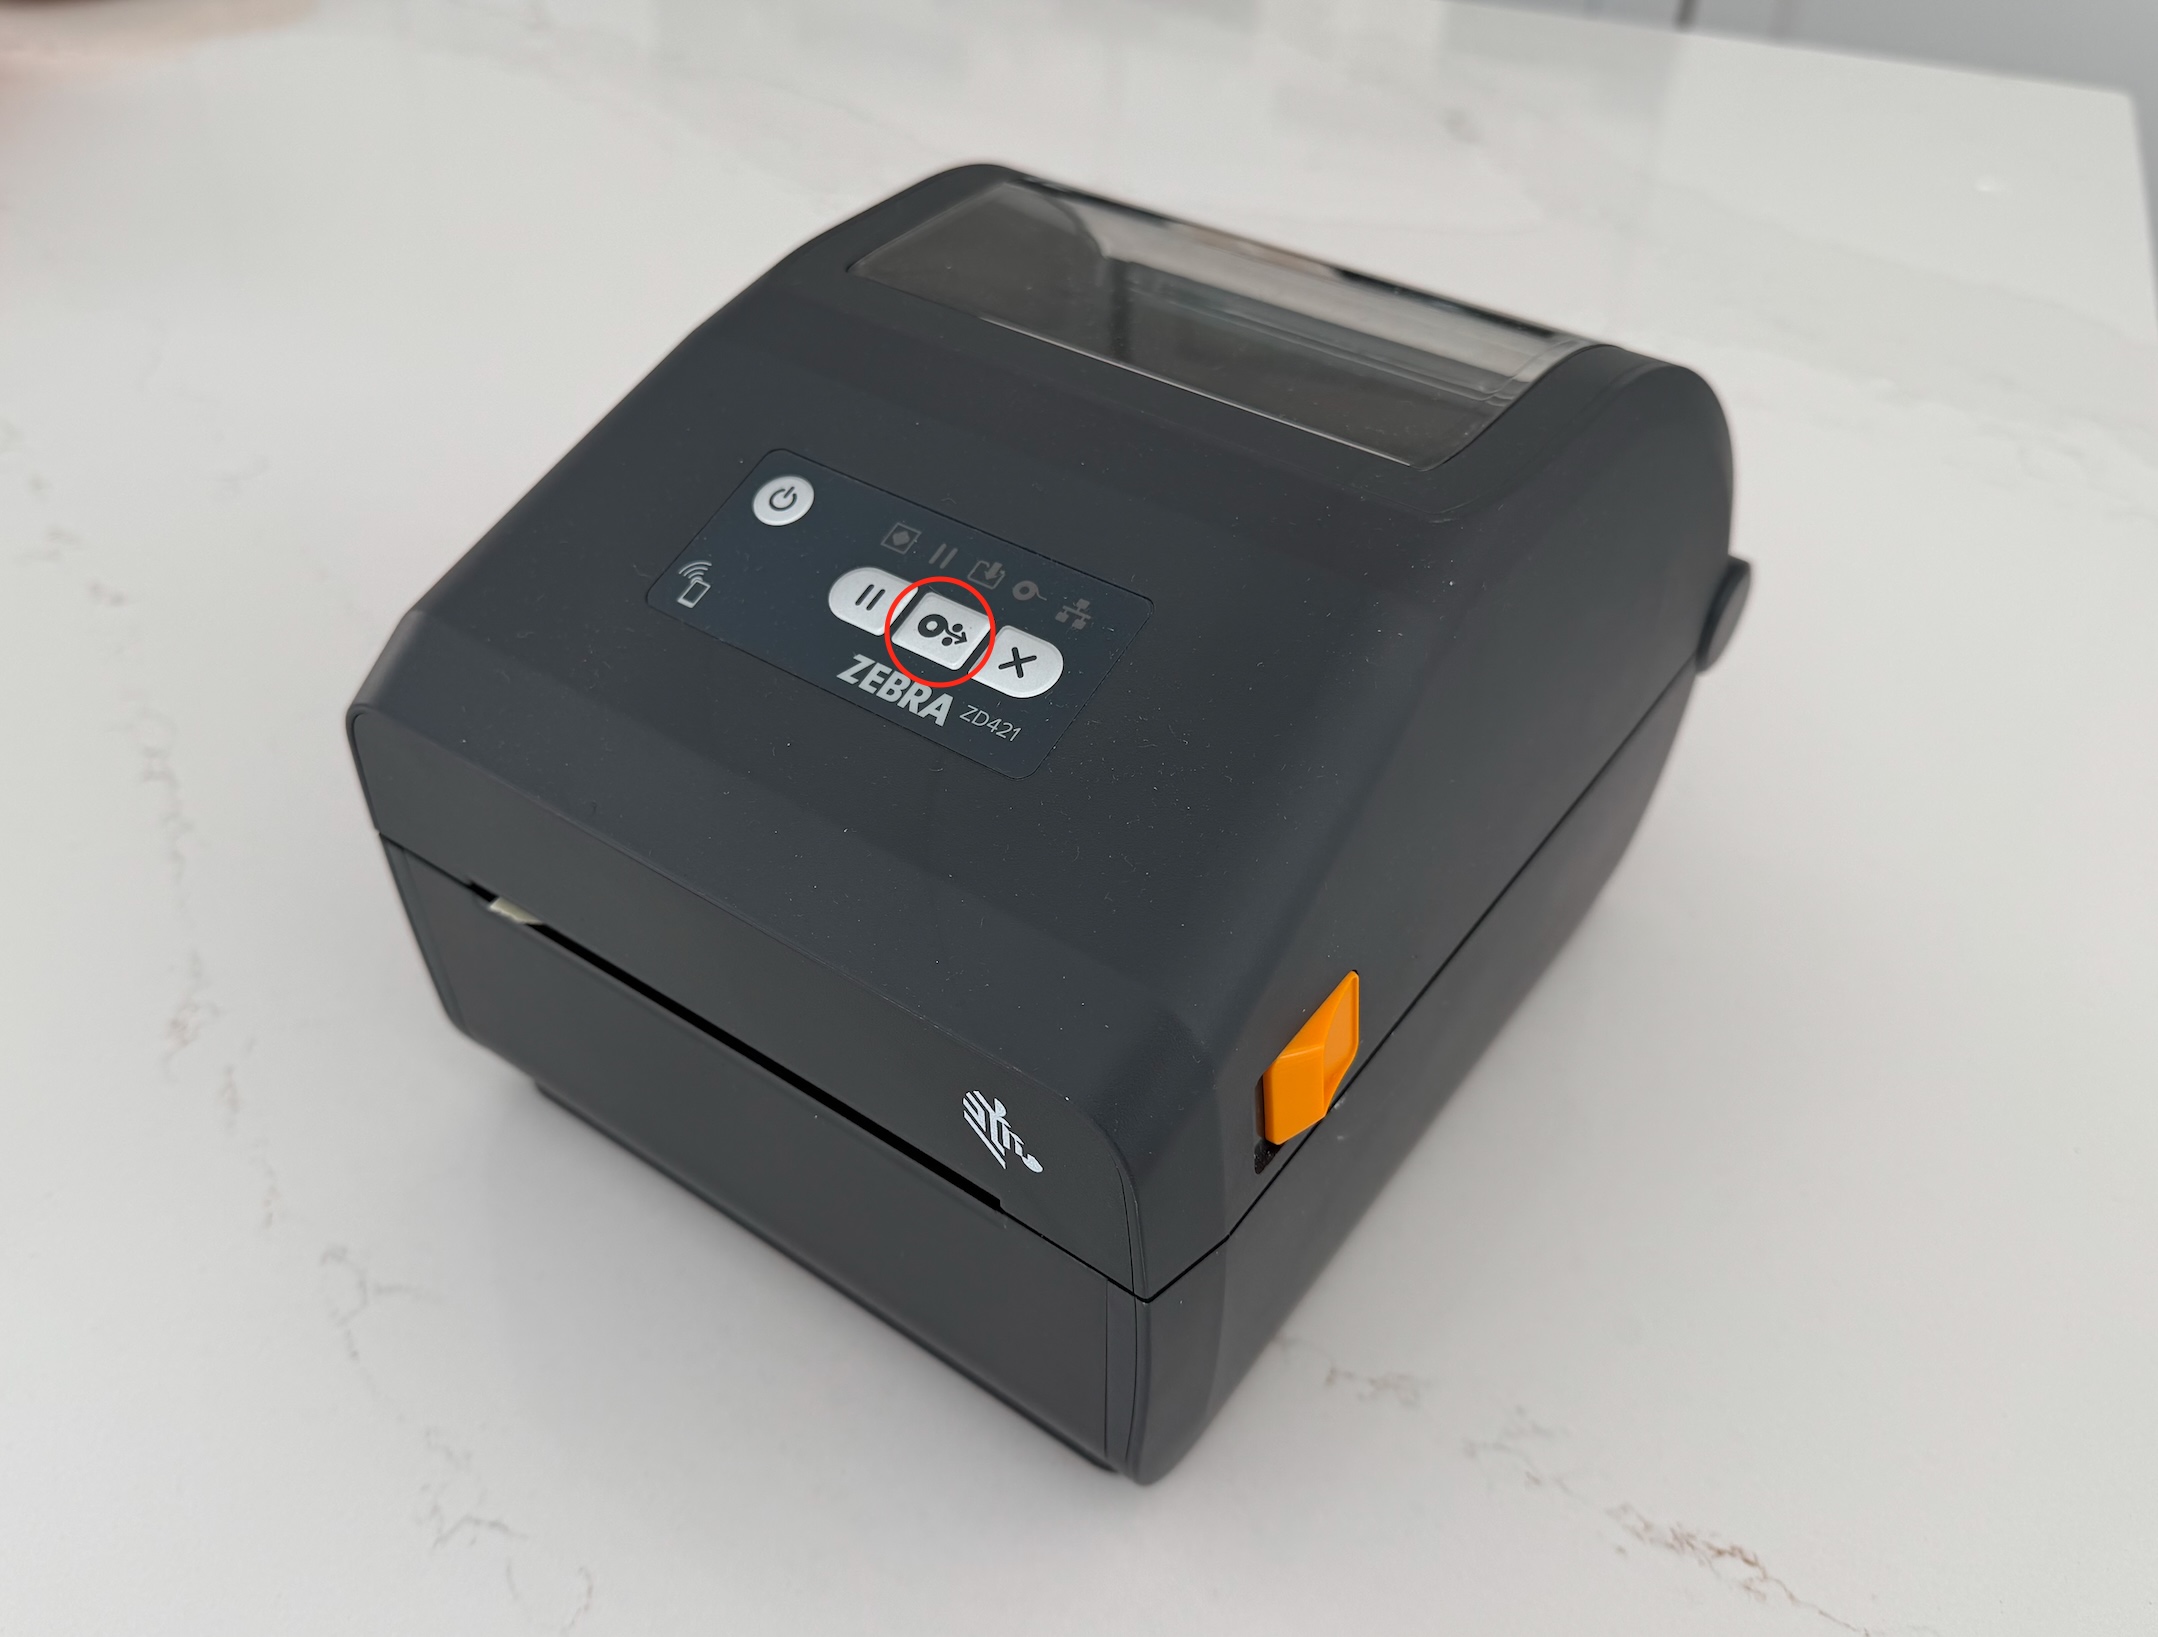
At Badgy.app we use direct thermal printers for all our badge printing. The reason for this is that they are reliable and don’t require any ink or consumables other than the badge stock itself. We prefer the use of Zebra model printers due to their availability and also reliability.
There are a huge number of models available, but we generally recommend the cheapest USB enabled model you can buy in your region. At the time of writing this is likely the Zebra ZD220d.
The one downside of direct thermal printing is the lack of color, however if this is an issue you can use either the A6 card or the pre-printed thermal badge stock for your event. In our experience it is best to have the simplest printing setup as possible on the day of the event.
How do I create custom designs with Badgy.app?
In your event settings you will see all the available badge options under the “Badge” tab. Firstly you should choose the badge medium you will be using. Badge designs can be set on a per ticket-type basis. For example you could have a separate badge design for a speaker. When a QR code is scanned at registration the corresponding badge type with print automatically.
In the badge builder you can choose what fields you would like to print on your badge, along with adding logos, QR codes and static text if required. As always the team is here to help if you have any questions.
Run your next event with Badgy.app
Badgy.app makes registration and beyond look and feel professional.
👉 Ready to take your next event to the next level?
Get started with Badgy.app today. You can book a demo here
Ready to take your event to the next level?
